Bluetooth Build Button, Part 6: lights and a power switch
With a basic software implementation completed (Part 5: the software), we can spend some time using it day-to-day and build incremental improvements.
Power switch
I mentioned previously that I was opening the enclosure to turn the button on and off, so streamlining that behavior is my first target.
A little bit of time in Fusion 360, and I have a mount for the power switch. It’s meant to be a bit of a tight fit, as the switch should hopefully “snap” into the enclosure.
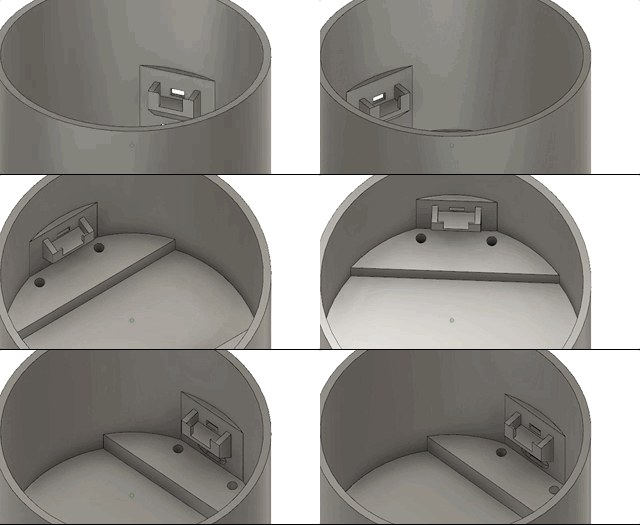
The first print ended up being way too tight, so after destroying it with pliers, it’s back to Fusion for a few tweaks, and finally I have something that works:
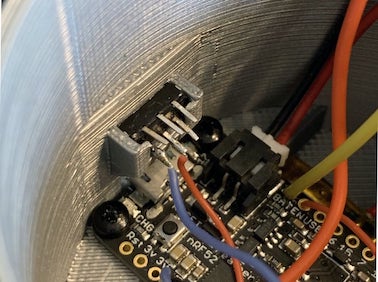
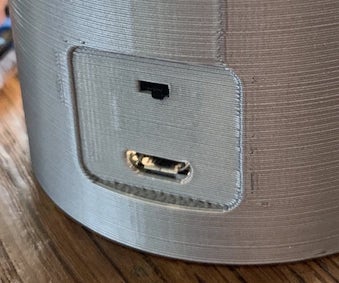
It’s connected to VREG ENABLE (labelled ‘EN’) on the Feather – which will prevent the Feather from getting 3.3V from the battery.
After a little bit of use, it seems to work well! I still haven’t done any real math to figure out battery life, but switching it on during the work day and off at night has allowed me to use it for days without needing a charge.
LED ring
Previously, I created handling for three stages of button push – short, medium, long. In vim-test, respectively, those run a single test, the test file, and the entire test suite. But there’s no feedback to let you know how long to press or what stage you’re running.
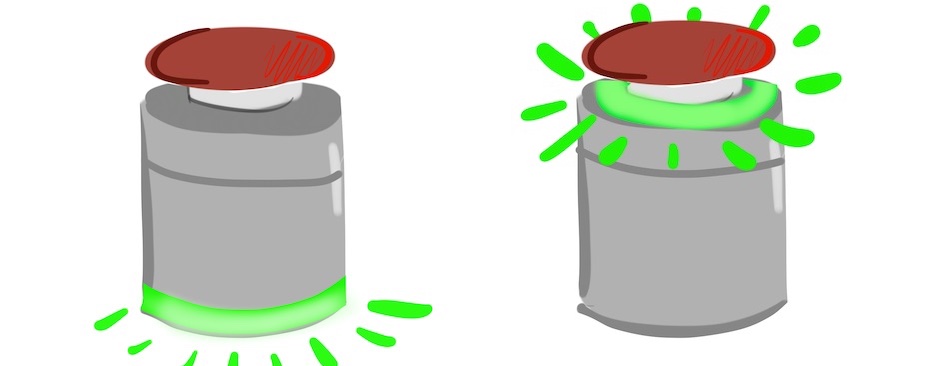
Given the cylindrical enclosure, I really liked the idea of including a NeoPixel ring and using it as a feedback mechanism, but I wasn’t 100% sure that I could build something effective. Remembering the sketch from the first post:
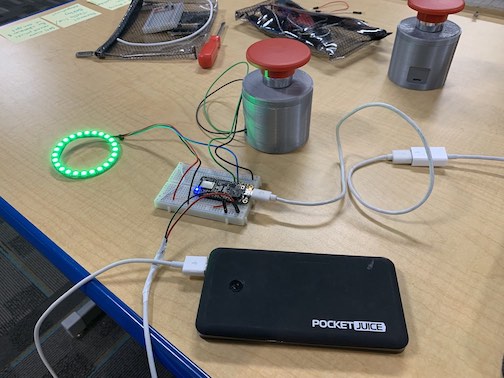
I started by building the interaction with all the components on a breadboard:
And then get to work on creating a lid that can house the LED ring. This ends up being slightly tricky because the NeoPixel ring has GND + VIN on one side of the ring, and the data bus on the opposite side, so we need channels for wires to run on both sides of the lid:
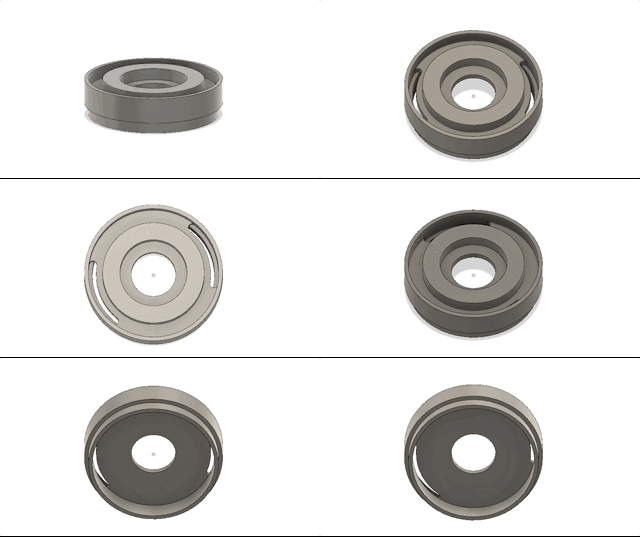
Thankfully it fits pretty good on the first print.
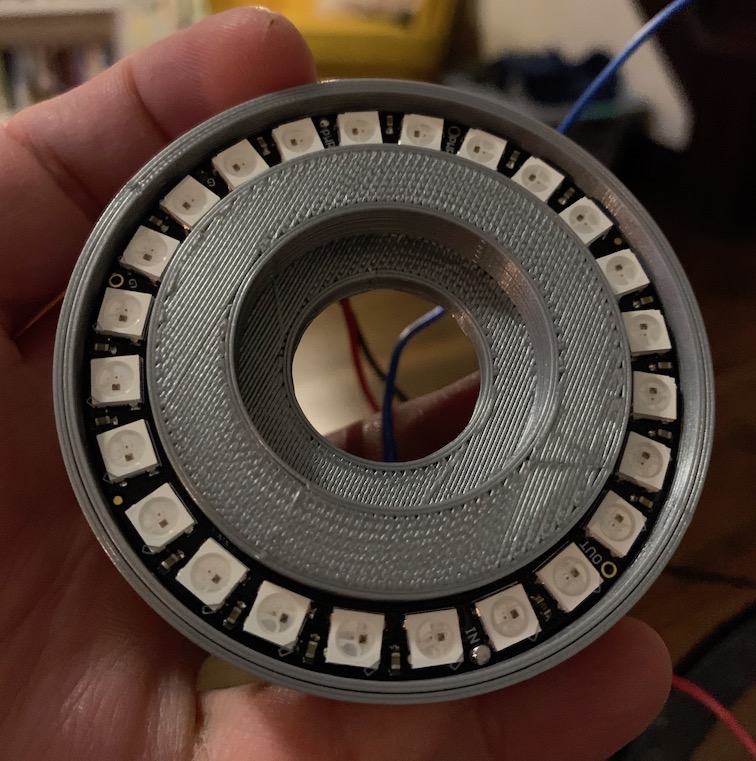
The interation works pretty well – the ring cycles through blue, purple, and then red. Releasing on any of those stages triggers the appropriate test run.
It’s very bright though, so back to Fusion 360 to create a quick diffuser ring to snap over the LEDs.
Three problems to solve
The LED feedback has been working great so far. But after about a week of use I can identify three problems:
Feedback
When I tap the button quickly, the LEDs just turn off. It’d be great if there was some confirmation feedback to communicate which stage I triggered (blinking the LEDs in blue, purple or red).
Battery life
The power switch isn’t a hard cut to the battery line – the EN pin just disables the 3.3v regulator for the Feather. This means that the NeoPixels continue to draw power even when they are not lit up, and suddenly I’ve gone from having week-long battery life to needing a charge every day. I’m probably going to want to build a carrier board for the feather to enable a proper off switch.
Mysterious crashes
I’ve hit a blocker in continuing to build the software, which is that I can’t seem to change the code in even mundane ways without causing runtime errors I can’t debug. In this state, the code compiles, it appears I have pleny of memory, but the Feather just doesn’t seem to run. Without a JTAG debugger I’m flying blind here, but I’m going to have to figure out how to solve this if I want to move forward.
What’s next
Solving those runtime crashes is threatening to kill my momentum, so it’s priority number one.
Next: crashes and animations