Bluetooth Build Button, Part 4: v1.0 complete
With the rough-ins in place (Part 3: the enclosure rough-ins), we can build out the enclosure.
Battery
After seeing that the 2000mAh battery wasn’t going to fit, I moved to modeling the 500mAh one and tucked it under the Feather:

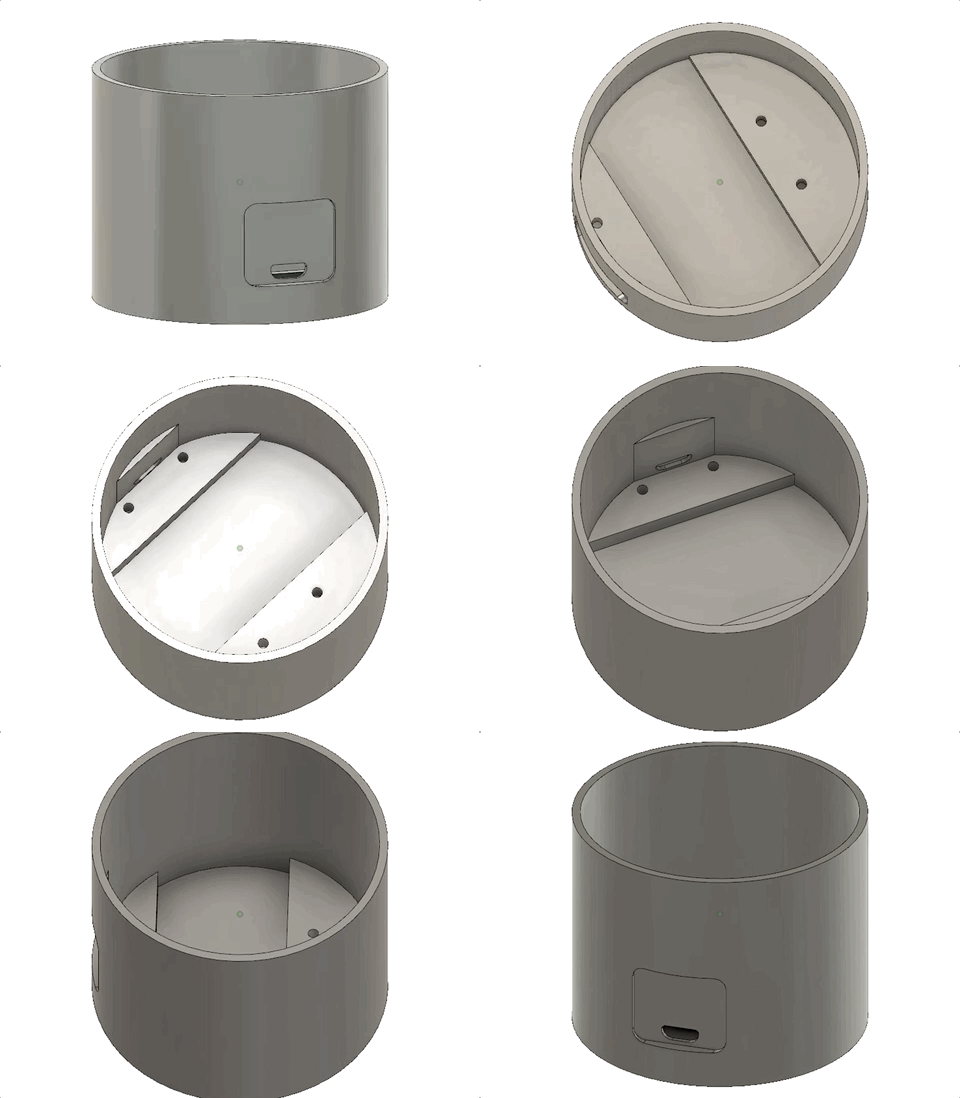
Eventually I’d like everything to snap in without screws or hardware, but snaps take some modeling work and iteration – screw holes take about three seconds, so in they go.
Flat for ports
We need a flat surface for our USB port and switch, so once the position of the Feather is determined, we can build a sketch and cut out a flat.
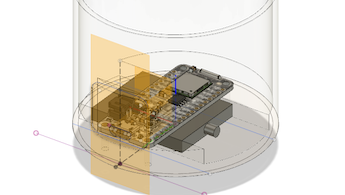
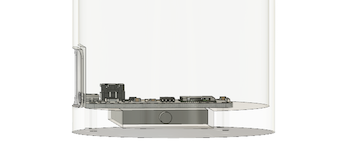
And with that, we have the base of our enclosure:
Lid
The lid is really just a couple of concentric circles extruded to different lengths, and takes about a minute to rough out.
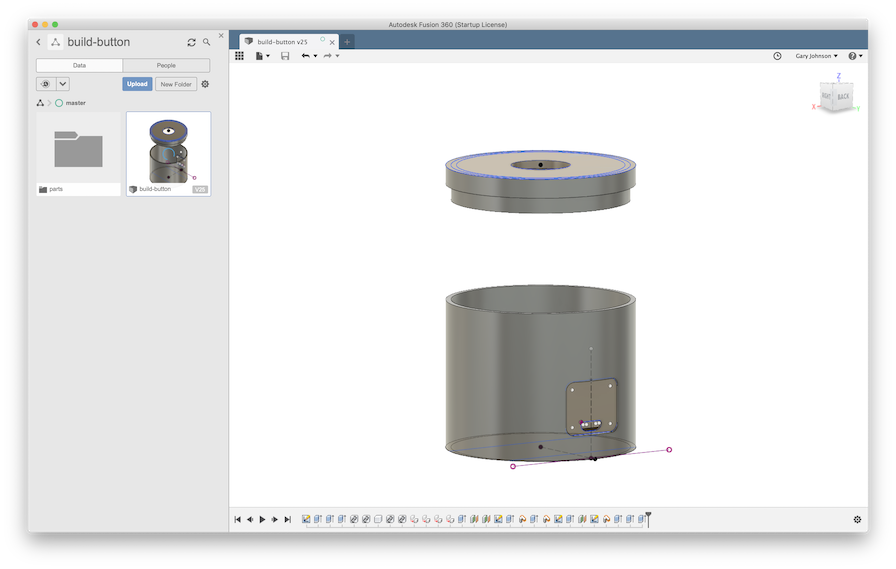
Before we print, a quick fit check with all of our parts and rough-ins:
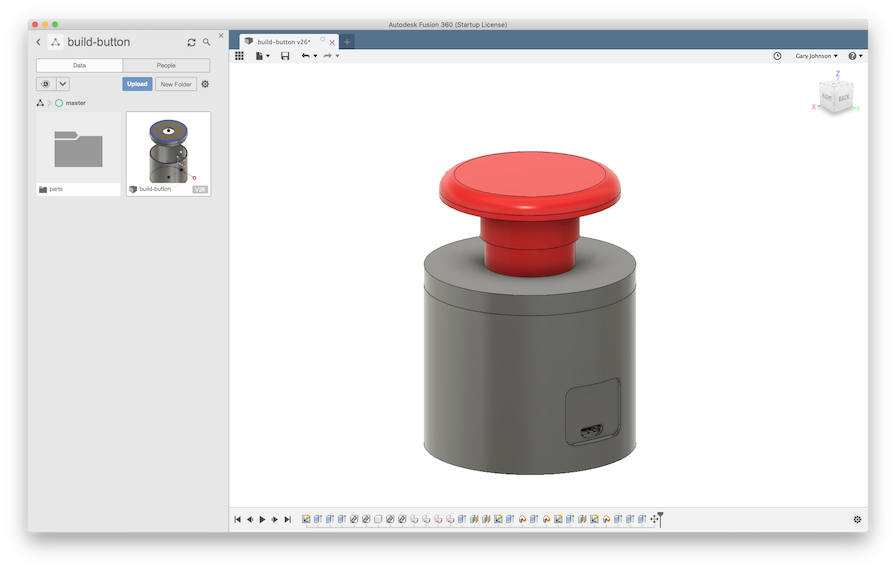
Model is looking good. As a checkpoint, I’ll get it out of Fusion 360 and into GitHub: build-button (GitHub)
Now let’s print!
Printing
I picked up some silver Hatchbox PLA for button printing. The silver should look nice with the red button.
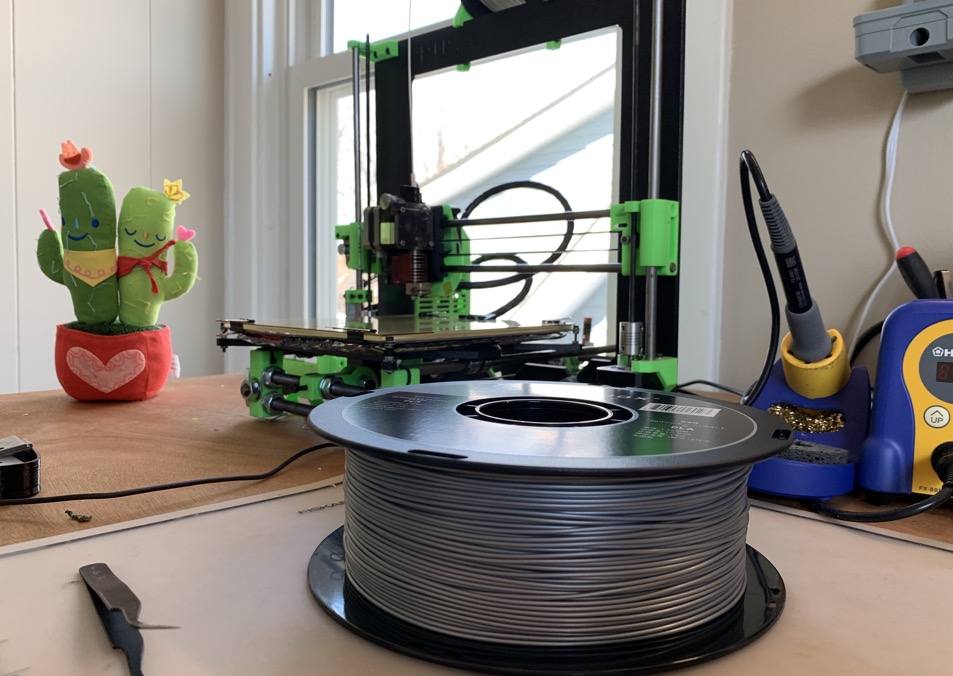
An hour or two later and we’ve got a button!
Mounting the switch will take a little bit more work, and there’s plenty learn without it, so for now I’ve just wired it internally.
Because there are loose elements that may cause shorts, I’ve covered up the Feather with kapton tape as an insulator.

Looks like the micro USB port lines up pretty good!
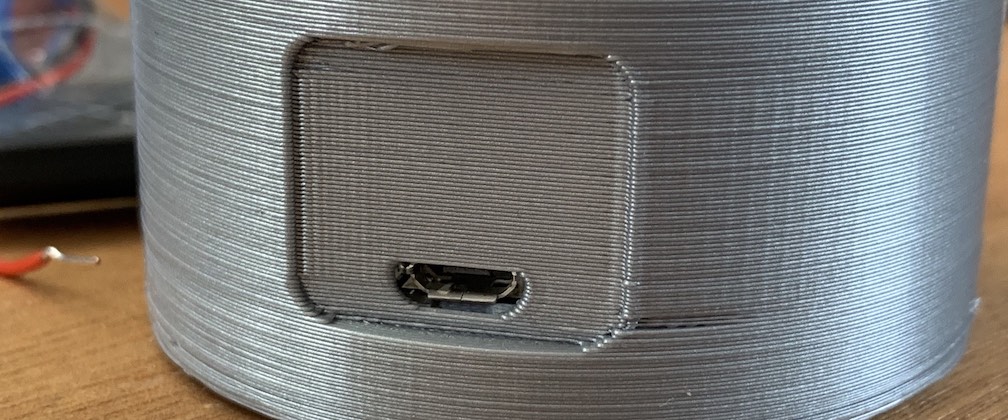
Here’s our v1 build button. The print quality isn’t great, the lid fits way too tight, but things look pretty okay when it’s all assembled!
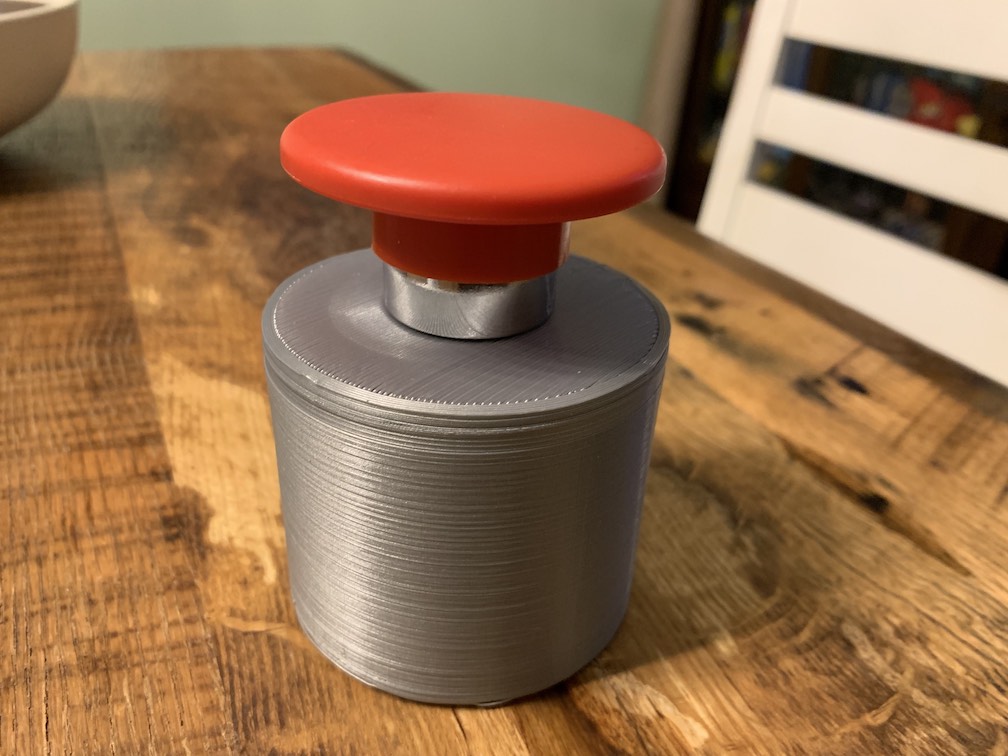
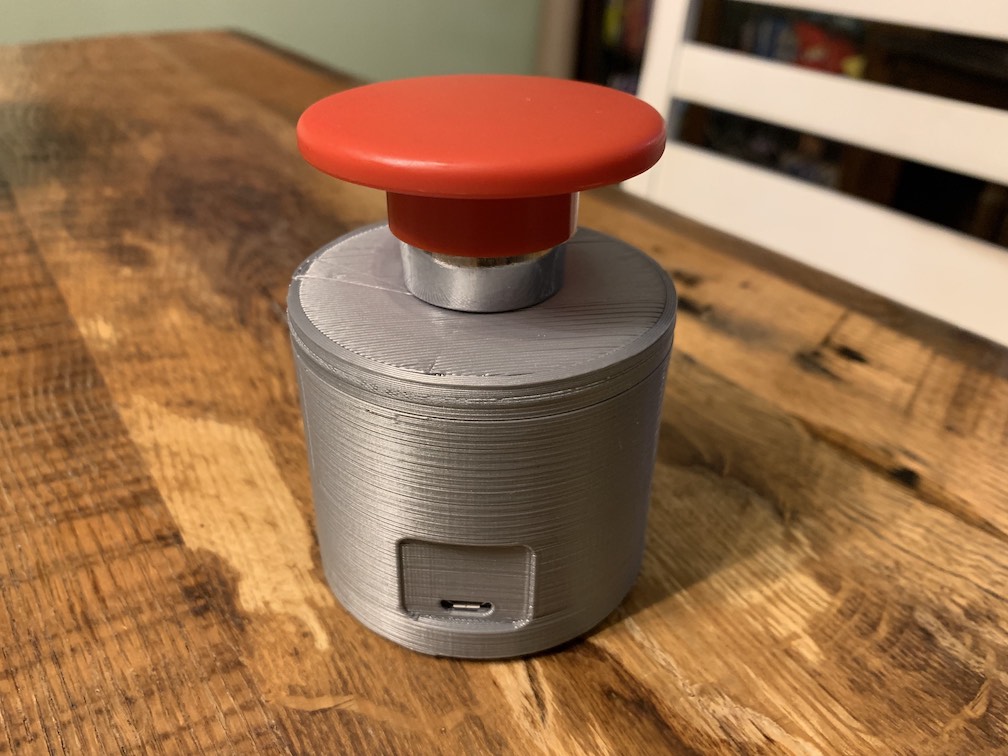
Still feels pretty cool to be able to do this wirelessly:
Whats next
We’ve finished implementing the core idea, but there’s a lot more finishing work that can go into this.
Here are the things that bug me, in the order of most annoying:
- Can’t easily run the proper test suite in the command line.
- Having to open the case to switch power.
So next we’ll start tackling those issues (Part 5: the software), and then we can move onto enhancing the button.